Trending

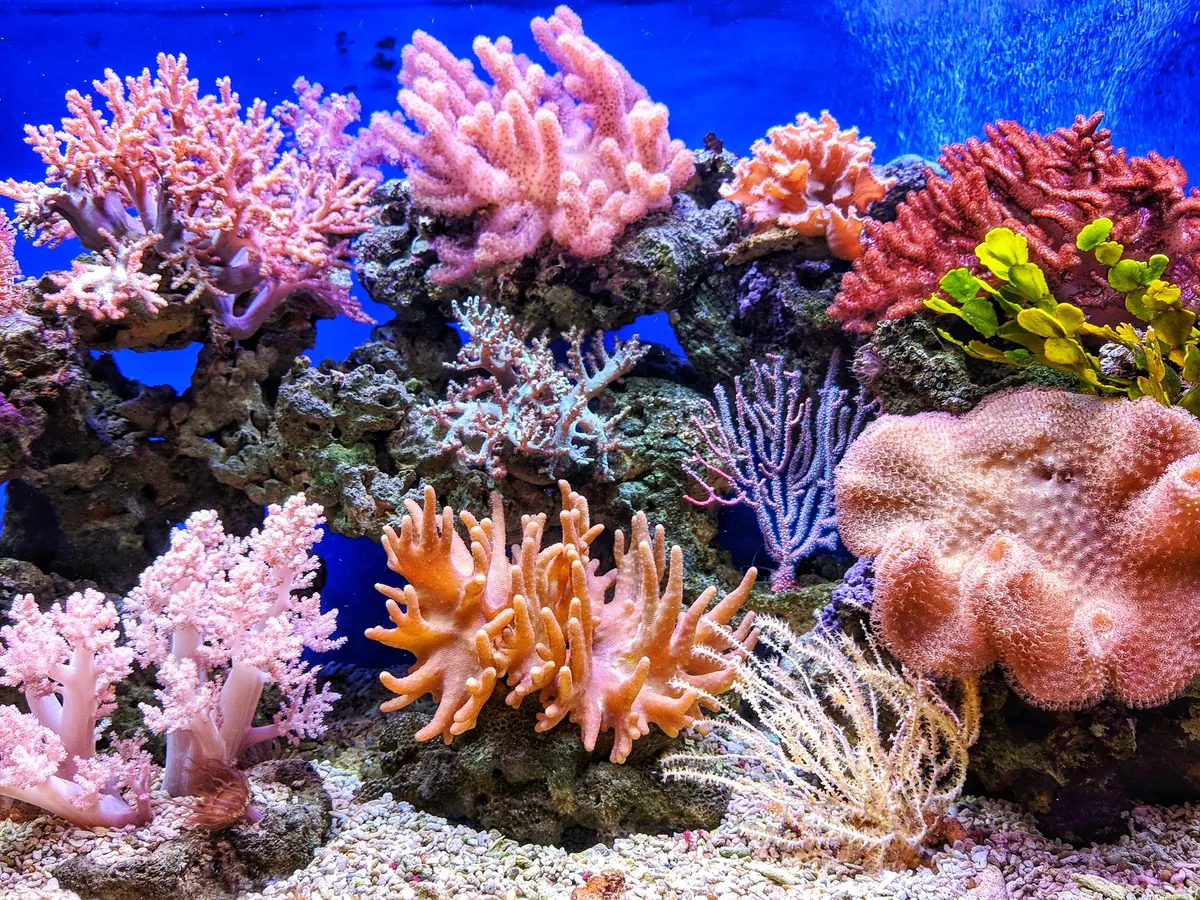
A reef tank is never quite the same twice. Between the short grey days of a British January and the long bright evenings of July, the light in the room changes, the tank responds, and the way your photographs turn out changes with it. Shooting the same tank on a monthly rhythm turns a scatter of phone snaps into a real record: growth, colour shifts, and the quiet dramas that happen between water changes. It takes ten minutes a month and a bit of discipline.
The biggest variable in reef photography is not your camera. It is the room. A north-facing flat in winter is dim by half past three, which is actually helpful: your tank lights become the only light source and colours come out clean. A south-facing window in June is the opposite problem, throwing a bright rectangle across the glass and flattening every colour behind it. Summer also brings warmer water, faster evaporation and more salt spray on the front pane; winter brings condensation and a lid you keep closed.
Coral growth has its own rhythm too. Many tanks put on visible extension in spring and autumn, slow down in the heat of summer and sit quiet in midwinter. If you only photograph when the tank looks its best, you miss the most interesting part of the story.
Shoot one thing a month and you will end the year with an archive rather than a camera roll. Adjust the months to suit your maintenance routine, but keep the order.
Two of those months need the pumps paused. Keep it brief, watch the water surface, and switch them straight back on.
Your best photographic season. Kill every other light in the room, close the curtains, and let the tank be the only thing lit. Set white balance manually rather than leaving it on auto, use a moderate aperture — around f/8 on a kit lens, wider on a phone — and keep the ISO as low as your shutter speed allows. A two-second timer or a cheap remote removes the shake that ruins macro shots. Clean the glass inside and out first; salt creep and condensation flare badly under LEDs.
Daylight becomes the enemy. A window behind you appears as a bright rectangle in the glass; a window to the side washes out colour. Shoot after dark where you can, or hang a dark cloth behind the camera. If you must work in daylight, block the window with your body and frame tighter. Wipe the front pane and your lens before every session, and never lean a camera over open water without a strap.
Light shifts week by week, so autumn suits repetition rather than invention. Re-shoot January's full-tank frame and March's top-down, then note any change to your light schedule — if you raise intensity as the days shorten, re-shoot your white balance reference too.
Most reef time-lapses fail for one reason: the camera moves, so the coral appears to dance instead of grow.
Store files in date-first folders so a sequence sorts itself, and back the folder up somewhere other than the phone. Slight colour drift between months is normal; consistent framing matters far more than perfect colour.
Once the anchor shots are routine, add a short list you can repeat in ten minutes: a 45-degree view from each corner, a top-down frame, a macro of three named corals, one fish portrait, one equipment shot, and one photograph of anything that looks off — a pale tip, a patch of algae, a coral that has not opened. That last one is worth more than people expect. A dated photo of a coral's base tells you far more than a memory of it looking flat last week, and if a picture raises a question about coral health or water chemistry, post it alongside your parameters and ask.
Pick a date — the first Sunday of the month works well — and set a reminder. Ten minutes covers the shot list and a short note about anything you changed: lighting hours, dosing, a new addition. Date-first filenames, one backup in the cloud and one on a drive, and you have an archive that will outlast most of your equipment.
If you miss a month, carry on rather than starting again. A gap in a time-lapse is a reminder of real life, not a failure. Consistency beats brilliance, and a plain, well-framed photo taken on the same day each month will teach you more about your reef than a hundred perfect shots taken at random.
Photo: 22298 / Pixabay