Trending

A week-by-week twelve-week plan for UK beginners, covering tank choice, water, live rock, cycling, testing and livestock introduction.
Starting a reef tank is one of the most rewarding projects in the aquarium hobby, but it is also one of the least forgiving if you rush. In the UK, beginners face a few extra practical considerations: smaller homes, higher energy prices, variable tap water, damp winters and a huge choice of equipment from brands such as Red Sea, D-D, TMC and Aquaforest. This twelve-week plan is designed to slow you down, build stability and help you avoid the classic first-tank mistakes.
The goal is not to have a fully stocked reef at week twelve. The goal is to finish week twelve with a stable, tested, biologically mature system that can support a few hardy fish and corals. From there, patience becomes your most important piece of equipment.
Reef tanks are heavier than most beginners expect. A 100-litre tank with rock, sand, water, cabinet and sump can easily weigh over 150 kg, so check that your floor and cabinet are suitable. Avoid direct sunlight, radiators and draughty windows. Also think about noise, evaporation and humidity. In a UK flat or small house, a covered tank, a lid or a well-ventilated room can make a real difference.
Use an RCD plug or protected socket. Water and electricity are a dangerous combination, and a drip loop on every cable is cheap insurance. If you rent, check your tenancy agreement before installing a large tank. If you own, tell your insurer about the volume of water.
Choose the tank location, measure the space and decide what you want to keep. A peaceful community reef with clownfish, gobies, blennies and soft corals is very different from a high-flow SPS system. Make a realistic budget for equipment, salt, water, electricity and livestock. Join UK reef forums and Facebook groups, but remember that every tank is different. Do not buy livestock yet.
Buy the tank, cabinet and main equipment. Assemble the cabinet carefully and level it. If possible, leak-test the tank with tap water before final placement, then drain it completely. Install the RCD, organise cables and leave space for maintenance. A tank that is hard to reach will not be maintained properly.
Set up the sump or all-in-one rear chamber, heater, return pump and wavemakers. Make saltwater using RO/DI water and a reef salt. Target a specific gravity of 1.025–1.026 at 25°C. Calibrate your refractometer with a 35 ppt reference solution. Heat the water to 24–26°C, then fill the tank and start circulation.
You have three main choices: live rock, dry rock with a bacterial starter, or a mix. Live rock brings biodiversity but can also bring pests such as aiptasia, bristleworms or mantis shrimp. Dry rock is cheaper, cleaner and easier to aquascape, but it takes longer to mature. Build a stable structure with open gaps for flow. Add rinsed sand if you want a sandbed.
Cycling converts toxic ammonia into nitrite and then into less harmful nitrate. You can dose a small amount of ammonia, ghost-feed, or use a bottled bacteria product. Test ammonia and nitrite every day or two. Keep temperature and salinity stable. Lighting can be minimal during the cycle to reduce algae.
Ammonia should rise, then fall. Nitrite should rise, then fall. Nitrate will climb. The cycle is not finished until ammonia and nitrite both read zero. This usually takes two to four weeks, but live rock can shorten it and dry rock can lengthen it. Keep a notebook or app log. Do not add fish yet.
Test again to confirm ammonia and nitrite are zero. Do a 10–20% water change to reduce nitrate. Add a small clean-up crew: snails, hermits and perhaps an emerald crab. Acclimatise them slowly by drip method. Start a lighting schedule of six to eight hours. Expect some algae; it is part of the maturation process.
Test alkalinity, calcium, magnesium and phosphate. Add your first hardy soft corals, such as zoanthids, mushrooms, leathers or green star polyps. Dip all corals according to the manufacturer’s instructions and place them low in the tank at first. Observe for stress, pests and aggression.
Quarantine if possible. Add one small, hardy fish, such as a clownfish, royal gramma, firefish or goby. Drip acclimatise it, turn the lights down and feed lightly for the first few days. Test ammonia and nitrite after adding fish. Do not add another fish this week.
Aim for stable alkalinity around 7–9 dKH, calcium 400–450 ppm, magnesium 1300–1400 ppm, phosphate below 0.1 ppm and nitrate between 1 and 10 ppm. Stability matters more than chasing perfect numbers. Add another hardy coral or a few more clean-up crew members. Watch for coral warfare and fish aggression.
If parameters are stable and the first fish is feeding well, add a second compatible fish after quarantine. Establish your maintenance routine: daily top-off with RO/DI water, daily feeding, weekly testing, 10% weekly water changes, skimmer cleaning, glass cleaning and monthly pump cleaning. An auto top-off unit makes salinity stability much easier.
Review your logbook. Ammonia and nitrite should be zero, nitrate should be under control and fish and corals should look settled. Make a long-term stocking plan and add livestock slowly, one fish every two to four weeks. Consider upgrades such as a controller, dosing pump or better lighting only after you understand your tank’s consumption.
UK tap water varies dramatically by region. Hard water areas can have high TDS, nitrate and phosphate, which fuel algae and stress corals. Always use RO/DI water or a trusted LFS supply. Replace RO filters and DI resin regularly, and store water in food-safe containers away from sunlight.
Energy costs are a real concern. LEDs, efficient DC pumps and a well-insulated tank help. A heater is usually the biggest consumer in winter, while a fan or chiller may be needed during summer heatwaves. Use timers, keep the tank away from radiators and consider a battery air pump for power cuts. Good ventilation also reduces condensation and mould risk in UK homes.
“Nothing good happens fast in a reef tank.” Use that as your twelve-week mantra, and you will avoid most beginner disasters.
Twelve weeks is a framework, not a race. Some tanks cycle in three weeks; others take six. The best UK beginners succeed by using RO/DI water, testing regularly, stocking slowly and keeping a written log. By the end of this plan, you will not have a fully mature reef, but you will have something more valuable: a stable, understood system that can grow with you for years.
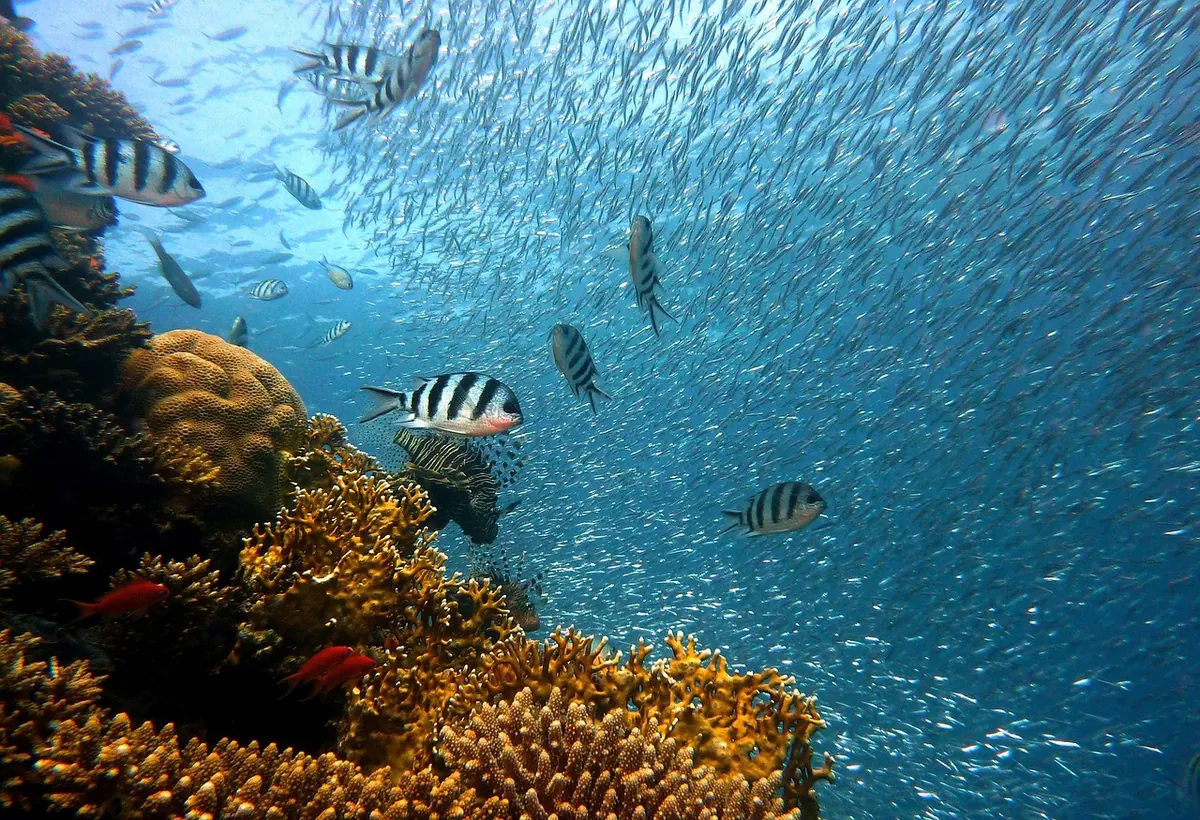
Photo: NGUYỄN THÀNH NHƠN / Pexels